My wife bought a Singer XL-1000 for 20% the original price, since the LCD was taking touch input offset by such an amount that most of its functionality was unreachable. The previous owner coudln't fix the problem and was glad that someone took the machine away, and we were glad that we could buy a machine at a price point lower than what such a machine would worth for us as a hobbyist tool.
We started searching on the web, and while some people had this problem, no usable solutions were posted. The users manual was available online, but had no mention of such an option. There was also a service manual available, but it also lacked any direct description of the procedure. However, it had instructions on opening service mode features, which eventually led me to discover the steps described below. (See page 35 from latter link above.)
- Turn off the machine, if it's on.
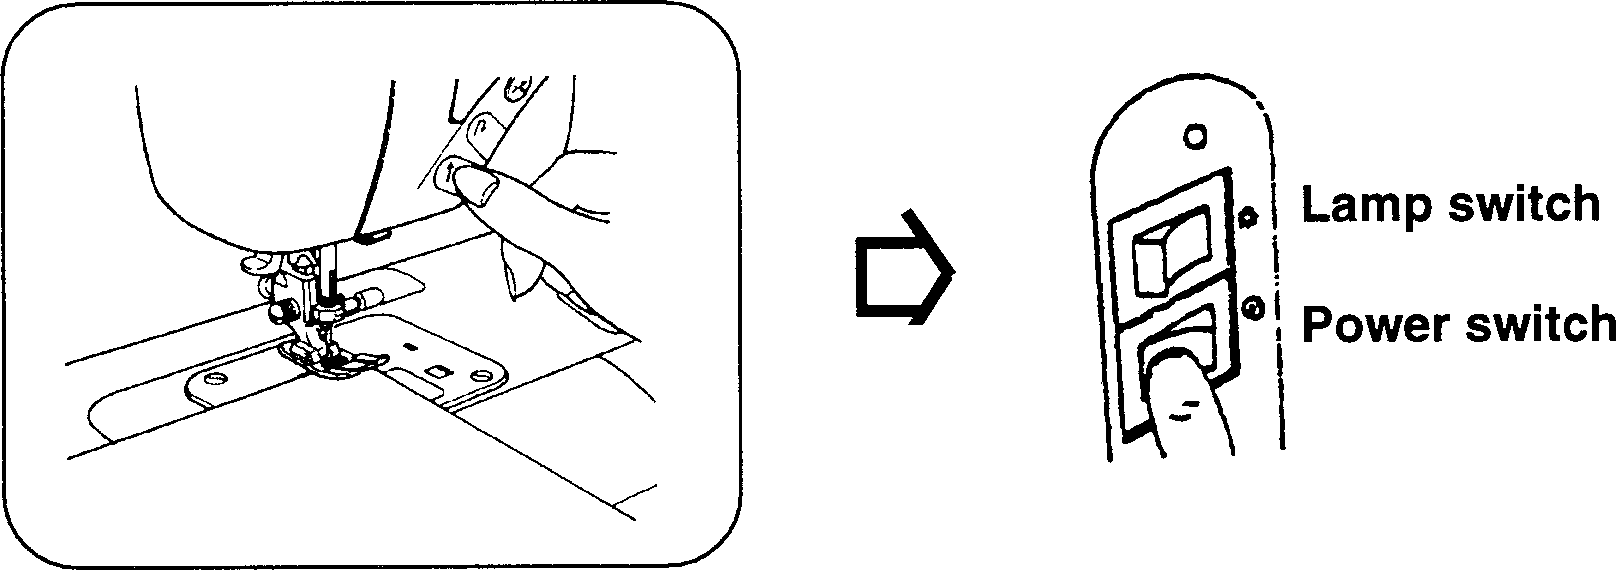
- Push the start/stop switch (⬆) and while pressed, turn on the machine, and release the switch only after the welcome screen has appeared.
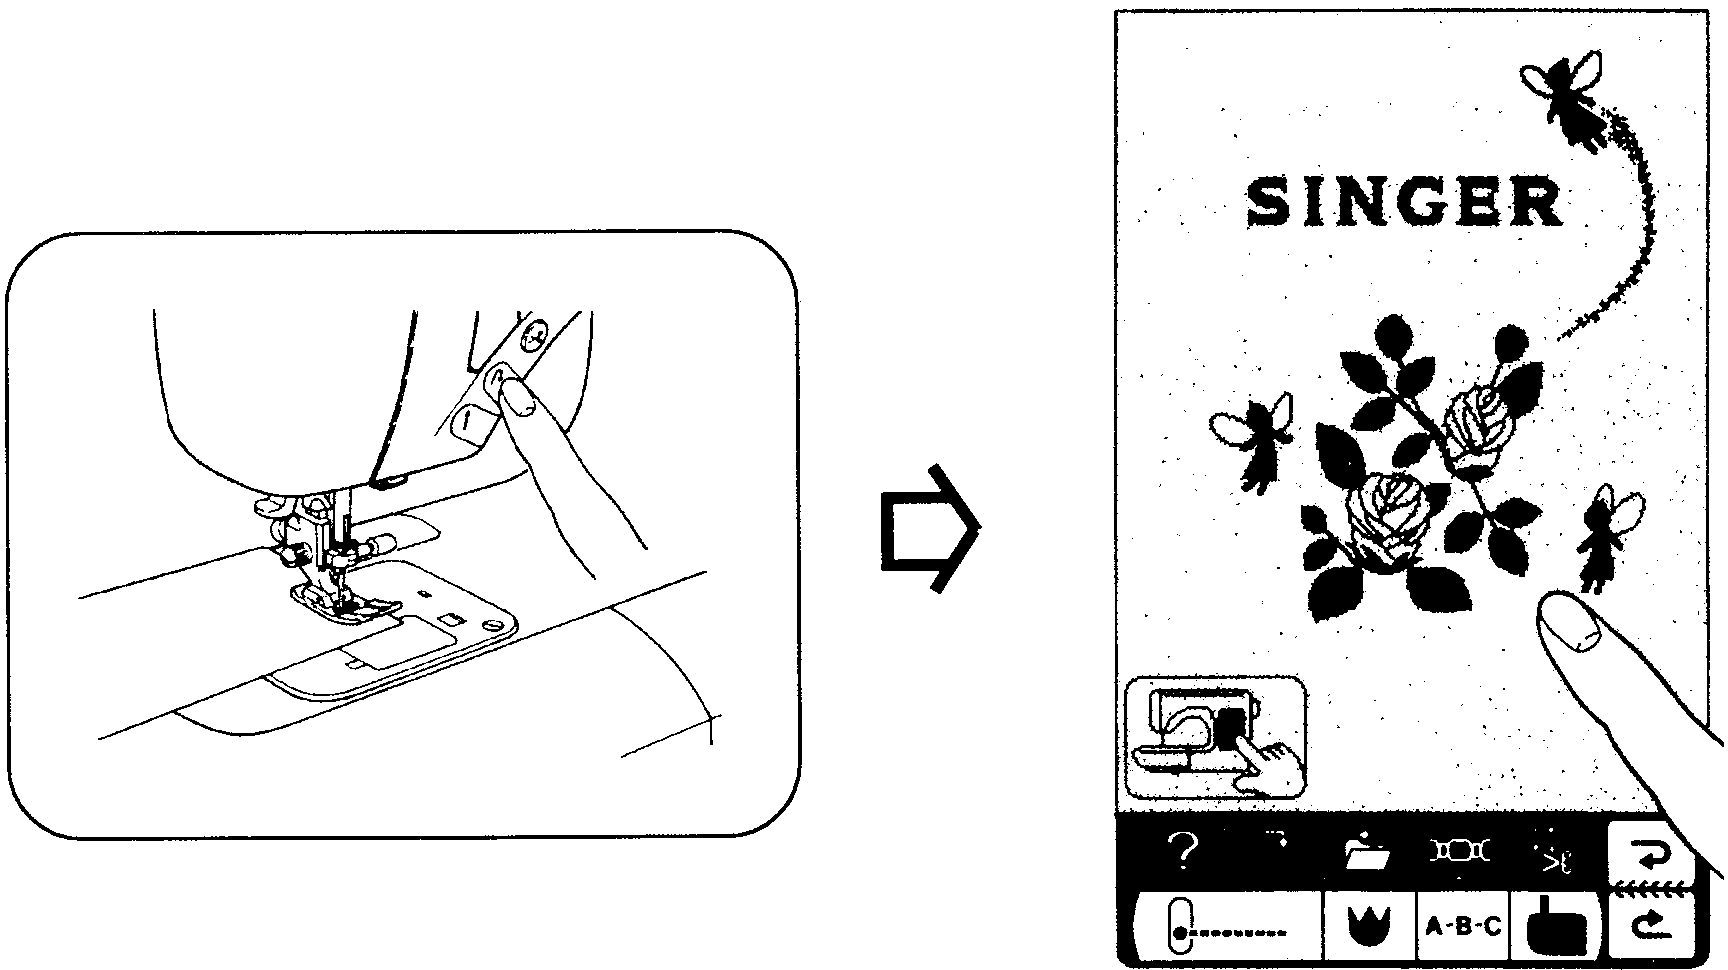
- Push the reverse feed stitching switch (↷) and while pressed, touch the screen and then release the switch.
- Now you're in screen calibration mode. A dot appears on the left, touch it as accurately as you can (for example by using a plastic fork gently).
- The dot will reappear on an other spot, repeat the above three times.
- After the fourth dot disappears, the screen will look empty. In this mode, wherever the screen is touched, a pixel appears. It's like a simple drawing program, but it also makes it possible to test whether the touchscreen works properly.
- Now the important final step: touch the utility button in the lower left corner of the screen, which saves the calibration data and confirms it with a beep. After this, the service mode UI apperas with numbers in frames, but you can just quit by turning the machine off.
- Turning the machine on without any button being pressed at the same time resumes normal operation.
Below are two images I cleaned up from the service manual that indicate the two steps necessary to enter the calibration mode.